Ansible Refactoring Part 2 - First Deploy
Part 2 - First Deploy
Now your environment is setup and customized it is time to clone, examine, and run your project repository or repo.
Simple Multi-Tier Application Overview
The repo contains a simple, monolithic, playbook main.yml that deploys a multi-tier application serving both a web site and it’s associated API.
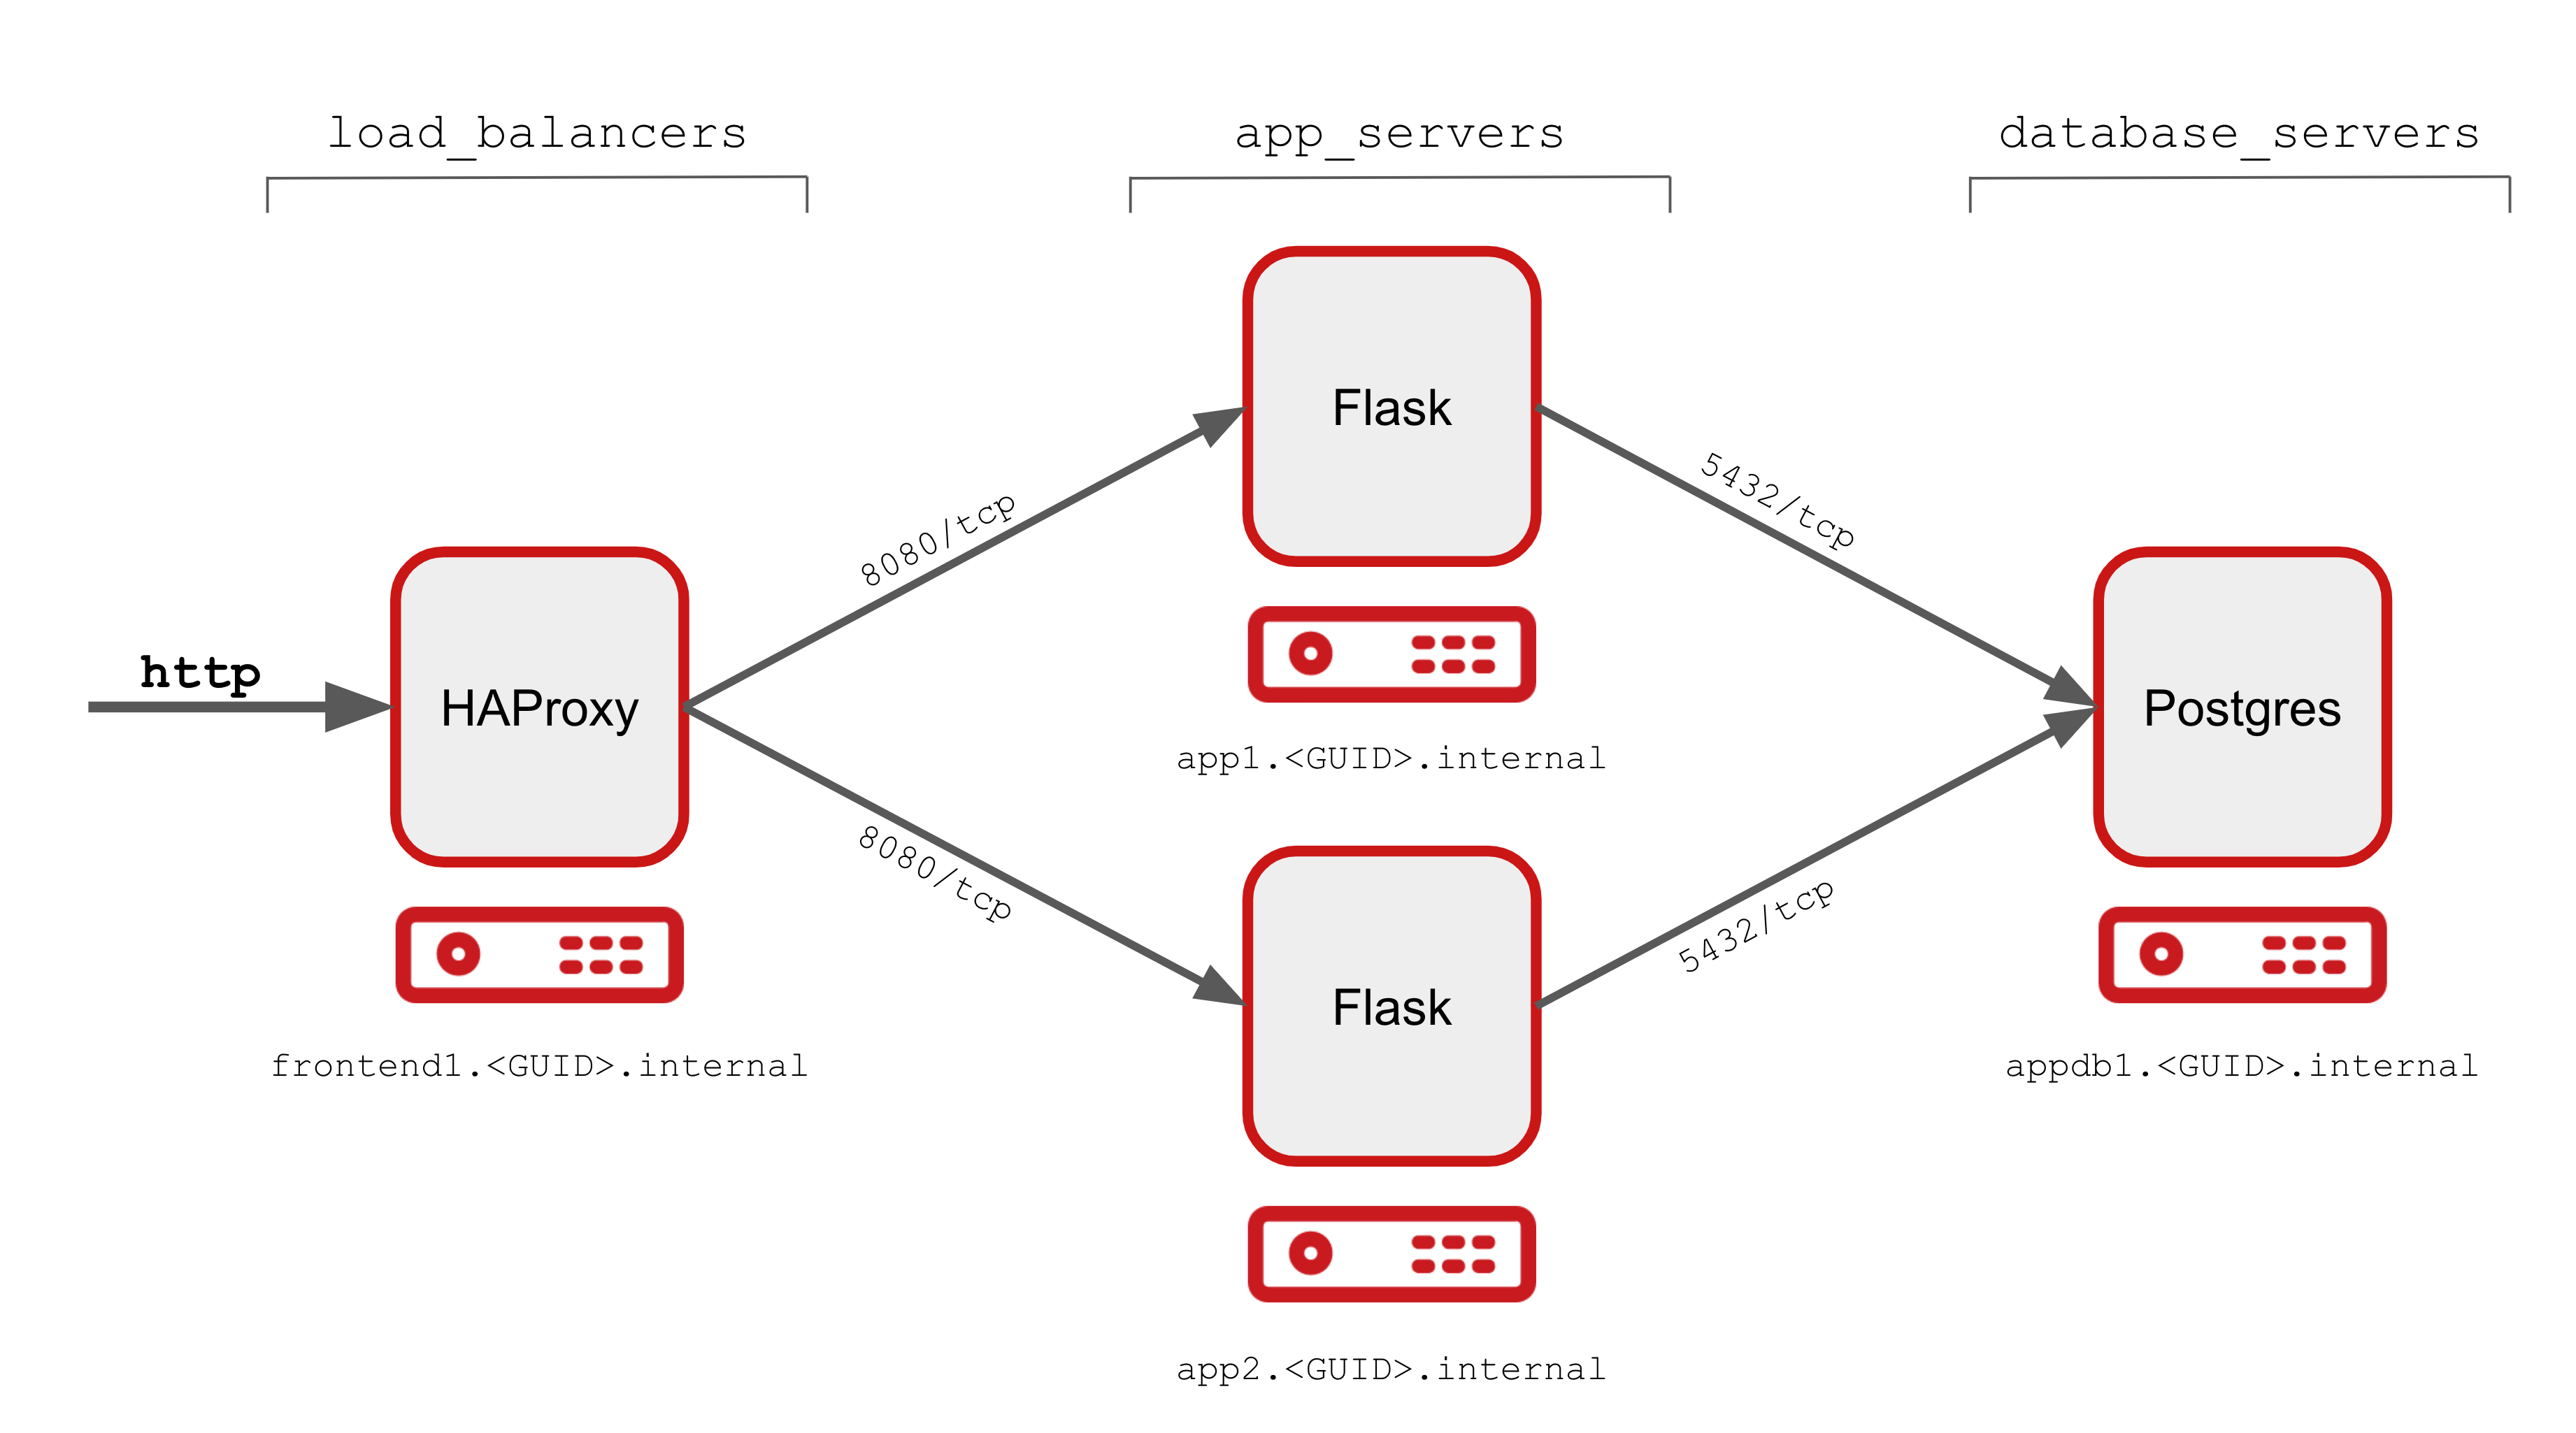
The Application comprises 3 main components, or tiers, which can be deployed onto the lab infrastructure. There is also a control node to work from.
| Server | Role | Ports (TCP) | Software | Ansible Group | Purpose |
|---|---|---|---|---|---|
|
Control Node |
22 |
Ansible |
NA |
Ansible Control Node |
|
Load Balancer |
22, 80, 443 |
HAProxy |
|
Load balances across App Tier |
|
Application Servers |
22, 8080 |
Python Flask |
|
Webserver and API (Python/Flask) |
|
Database Server |
22, 5432 |
Postgresql |
|
Back end database for Flask application |
First Deploy
In the first deploy we will just deploy the repo, or project, "as is" without making any changes.
-
Clone the deployer git repo
NoteIf you are not on your controlnode as thedevopsservice account user return to Setting up your Control Nodegit clone https://github.com/tonykay/ansible_flask_app_loader_all_in_one.gitSample OutputCloning into 'ansible_flask_app_loader_all_in_one'... remote: Enumerating objects: 41, done. remote: Counting objects: 100% (41/41), done. remote: Compressing objects: 100% (25/25), done. remote: Total 41 (delta 16), reused 40 (delta 15), pack-reused 0 Unpacking objects: 100% (41/41), done. -
Change directory into you project
cd ansible_flask_app_loader_all_in_oneYour starting point is a publicly accessible
gitrepository, in this case hosted at github. As previously noted it contains a working, but monolithic, deployment playbookmain.ymlcontaining 3 plays which deploy the above application. As a convenience for testing and developing a second playbook,teardown.ymlis also provided to delete the application fully.NoteIn Ansible plays, modules, roles, etc., should ideally do one thing well rather than attempt to be too broad. In our lab repository the primary playbook
main.ymlis comprised of several, functional plays but it’s monolithic nature makes it:-
Inflexible - e.g. it is difficult to re-use the database/postgres play on another project
-
Poor "separation of concerns" - DevOps teams all working with a single file dealing with different technology areas
-
Mixes configuration and code - variables, which may need frequent updating, are embedded in the plays themselves
-
-
Explore the project
This project, currently, has a very flat structure and can be explored simply with the
lscommand. For much larger projectstreeis a useful command, particularly with the-Lcommand that can be used to limit the directory depth of output. We will usetreelater.Notice the
ansible.cfgfile. Whilst executingansiblecommands from this directory this takes priority over the default/etc/ansible/cfg. You can confirm this withansible --version -
Examine your
ansible.cfgThe
ansible --versioncommand can identify the location of theansible.cfgin use.cat ansible.cfgSample Output[defaults] # inventory = hosts (1) retry_files_enabled = false stdout_callback = default bin_ansible_callbacks = true callback_whitelist = yaml, timer, profile_tasks [ssh_connection] # ssh_args = -F ./ssh.cfg (2)NoteWhilst your repository includes both an inventory file and a custom
ssh.cfgfile, both are commented out 1 and 2 above andansiblewill use the default inventory (/etc/ansible/hosts) andsshconfiguration frominventoryvariables and at a lower precedence `~/.ssh/config -
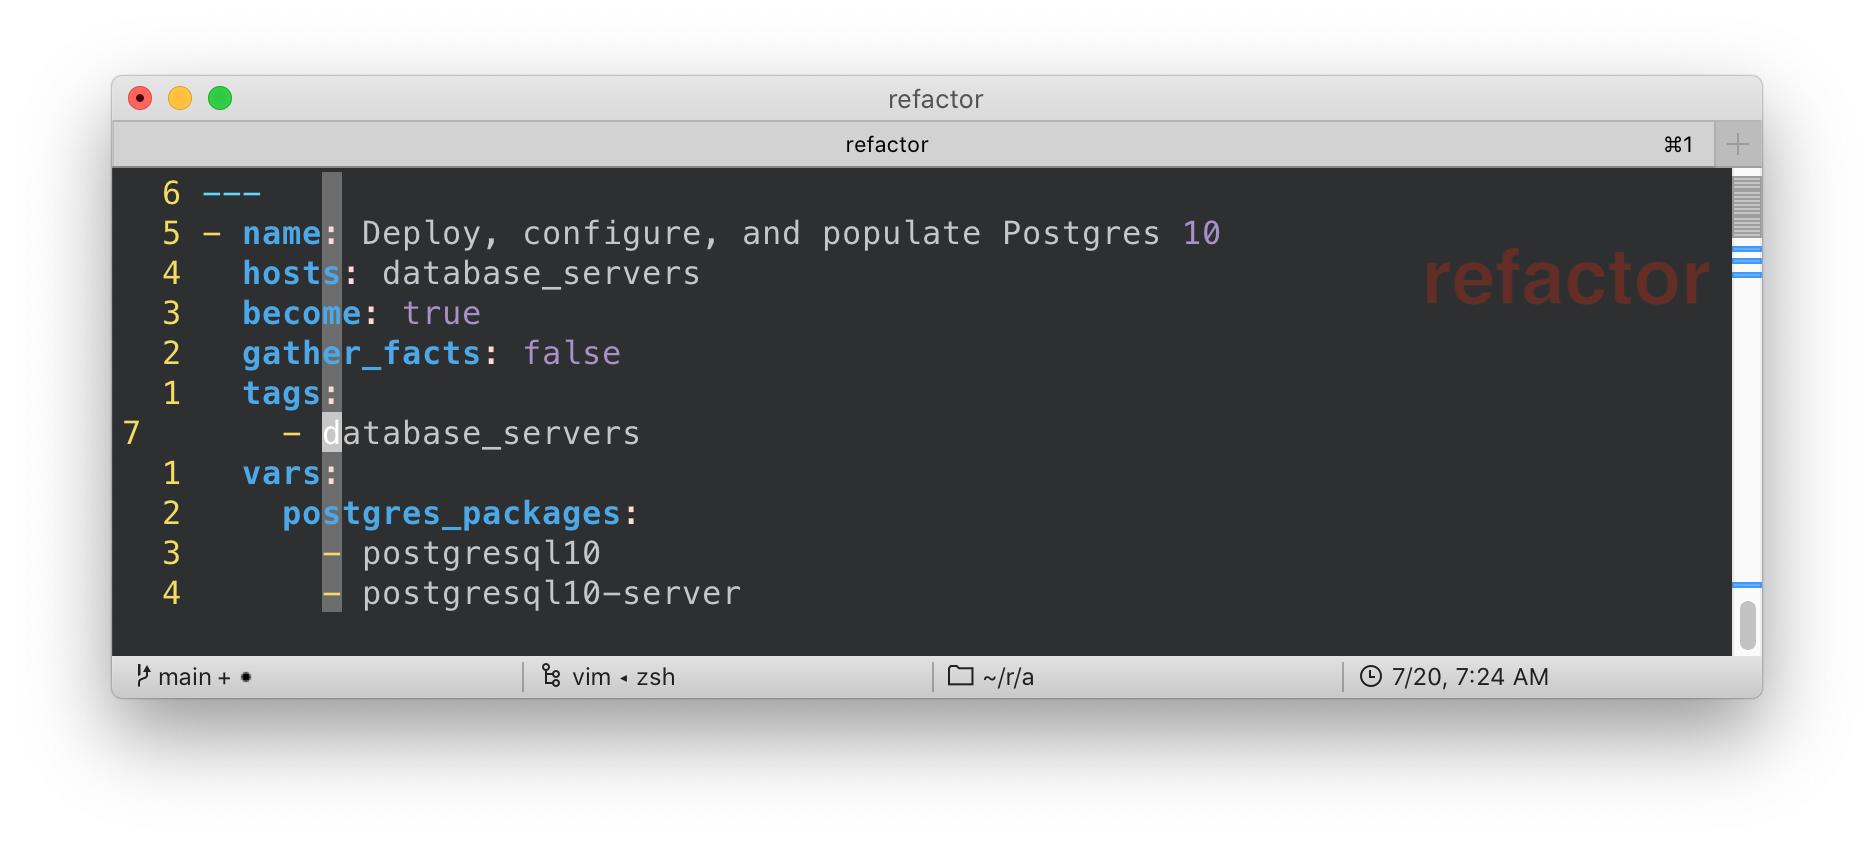
View the
main.ymlTake your time and page through the
main.ymlnoting the multiple plays and their purpose. The application is actually deployed backwards, which is not uncommon, as each layer requires the services of the layerless main.yml
Deploy the Application
-
Run the
main.ymlplaybookYou are now ready to run the playbook and check if it works as expected. Watch the
ansible-playbookcommand’s output to follow, and understand, its progress.ansible-playbook main.ymlSample Output... PLAY RECAP ************************************************************************************************************* app1.ntier-infra-03.internal : ok=10 changed=9 unreachable=0 failed=0 skipped=0 rescued=0 ignored=0 app2.ntier-infra-03.internal : ok=9 changed=8 unreachable=0 failed=0 skipped=0 rescued=0 ignored=0 appdb1.ntier-infra-03.internal : ok=9 changed=8 unreachable=0 failed=0 skipped=0 rescued=0 ignored=0 frontend1.ntier-infra-03.internal : ok=4 changed=4 unreachable=0 failed=0 skipped=0 rescued=0 ignored=0 Tuesday 21 July 2020 19:34:40 +0000 (0:00:00.770) 0:01:18.717 ********** =============================================================================== Install flask packages ----------------------------------------------------------------------------------------- 36.30s Install Postgres packages -------------------------------------------------------------------------------------- 15.33s ... -
Run it again!
It is good to validate that the playbook is idempotent and can safely be run multiple times without breaking the installation
Test your Application is Deployed Correctly
Assuming you got a sucessful playbook run you should now validate the deployment. There are a number of tests you can potentially carry out as each server is running at least 1 service:
-
frontend1: http on port 80 -
app1andapp2: a website/API endpoint on port 8080 -
appdb1: Postgres on port 5432
The simplest tests are to call the API endpoint with curl and to browse, from your local machine to the website.
-
curlthe HAProxy Load Balancer (the-soption forsilentstops curl from outputting stats to STDERR)curl -s frontend1:/api/v1/resourcesSample Output{ "author": "That Jeff Geerlinguy", "description": "Classic introduction to Ansible", "id": 1, "name": "Ansible for DevOps", "source": "Book", "url": "https://leanpub.com/ansible-for-devops" }, { "author": "James Freeman, Jesse Keating", "description": "Explores how Ansible works", "id": 2, "name": "Mastering Ansible 3rd Edition", "source": "Book", "url": "https://www.packtpub.com/virtualization-and-cloud/mastering-ansible-third-edition`" }, ... <TRUNCATED OUTPUT>NoteYour curlcommand called the HAProxy Load balancer which in turned called one of the App Servers. The Flask application in turn connected to the Postgreql database running onappdb1To confirm external connectivity redo the
curlcommand with the Fully Qualified Domain Name (FQDN)TipYou can always find your GUIDwith thehostnamecommand - it will be the left most sub-domain. e.g.fe87in this outputcontrol.fe87.internalcurl -s http://frontend1.<GUID>.example.opentlc.com/api/v1/resourcesExpect to see the same JSON output as from the prior
curl -
Browse to http://frontend1.<GUID>.example.opentlc.com/resources NB this is the webpage and omits the
/api/v1from the URL. You should see something similar to this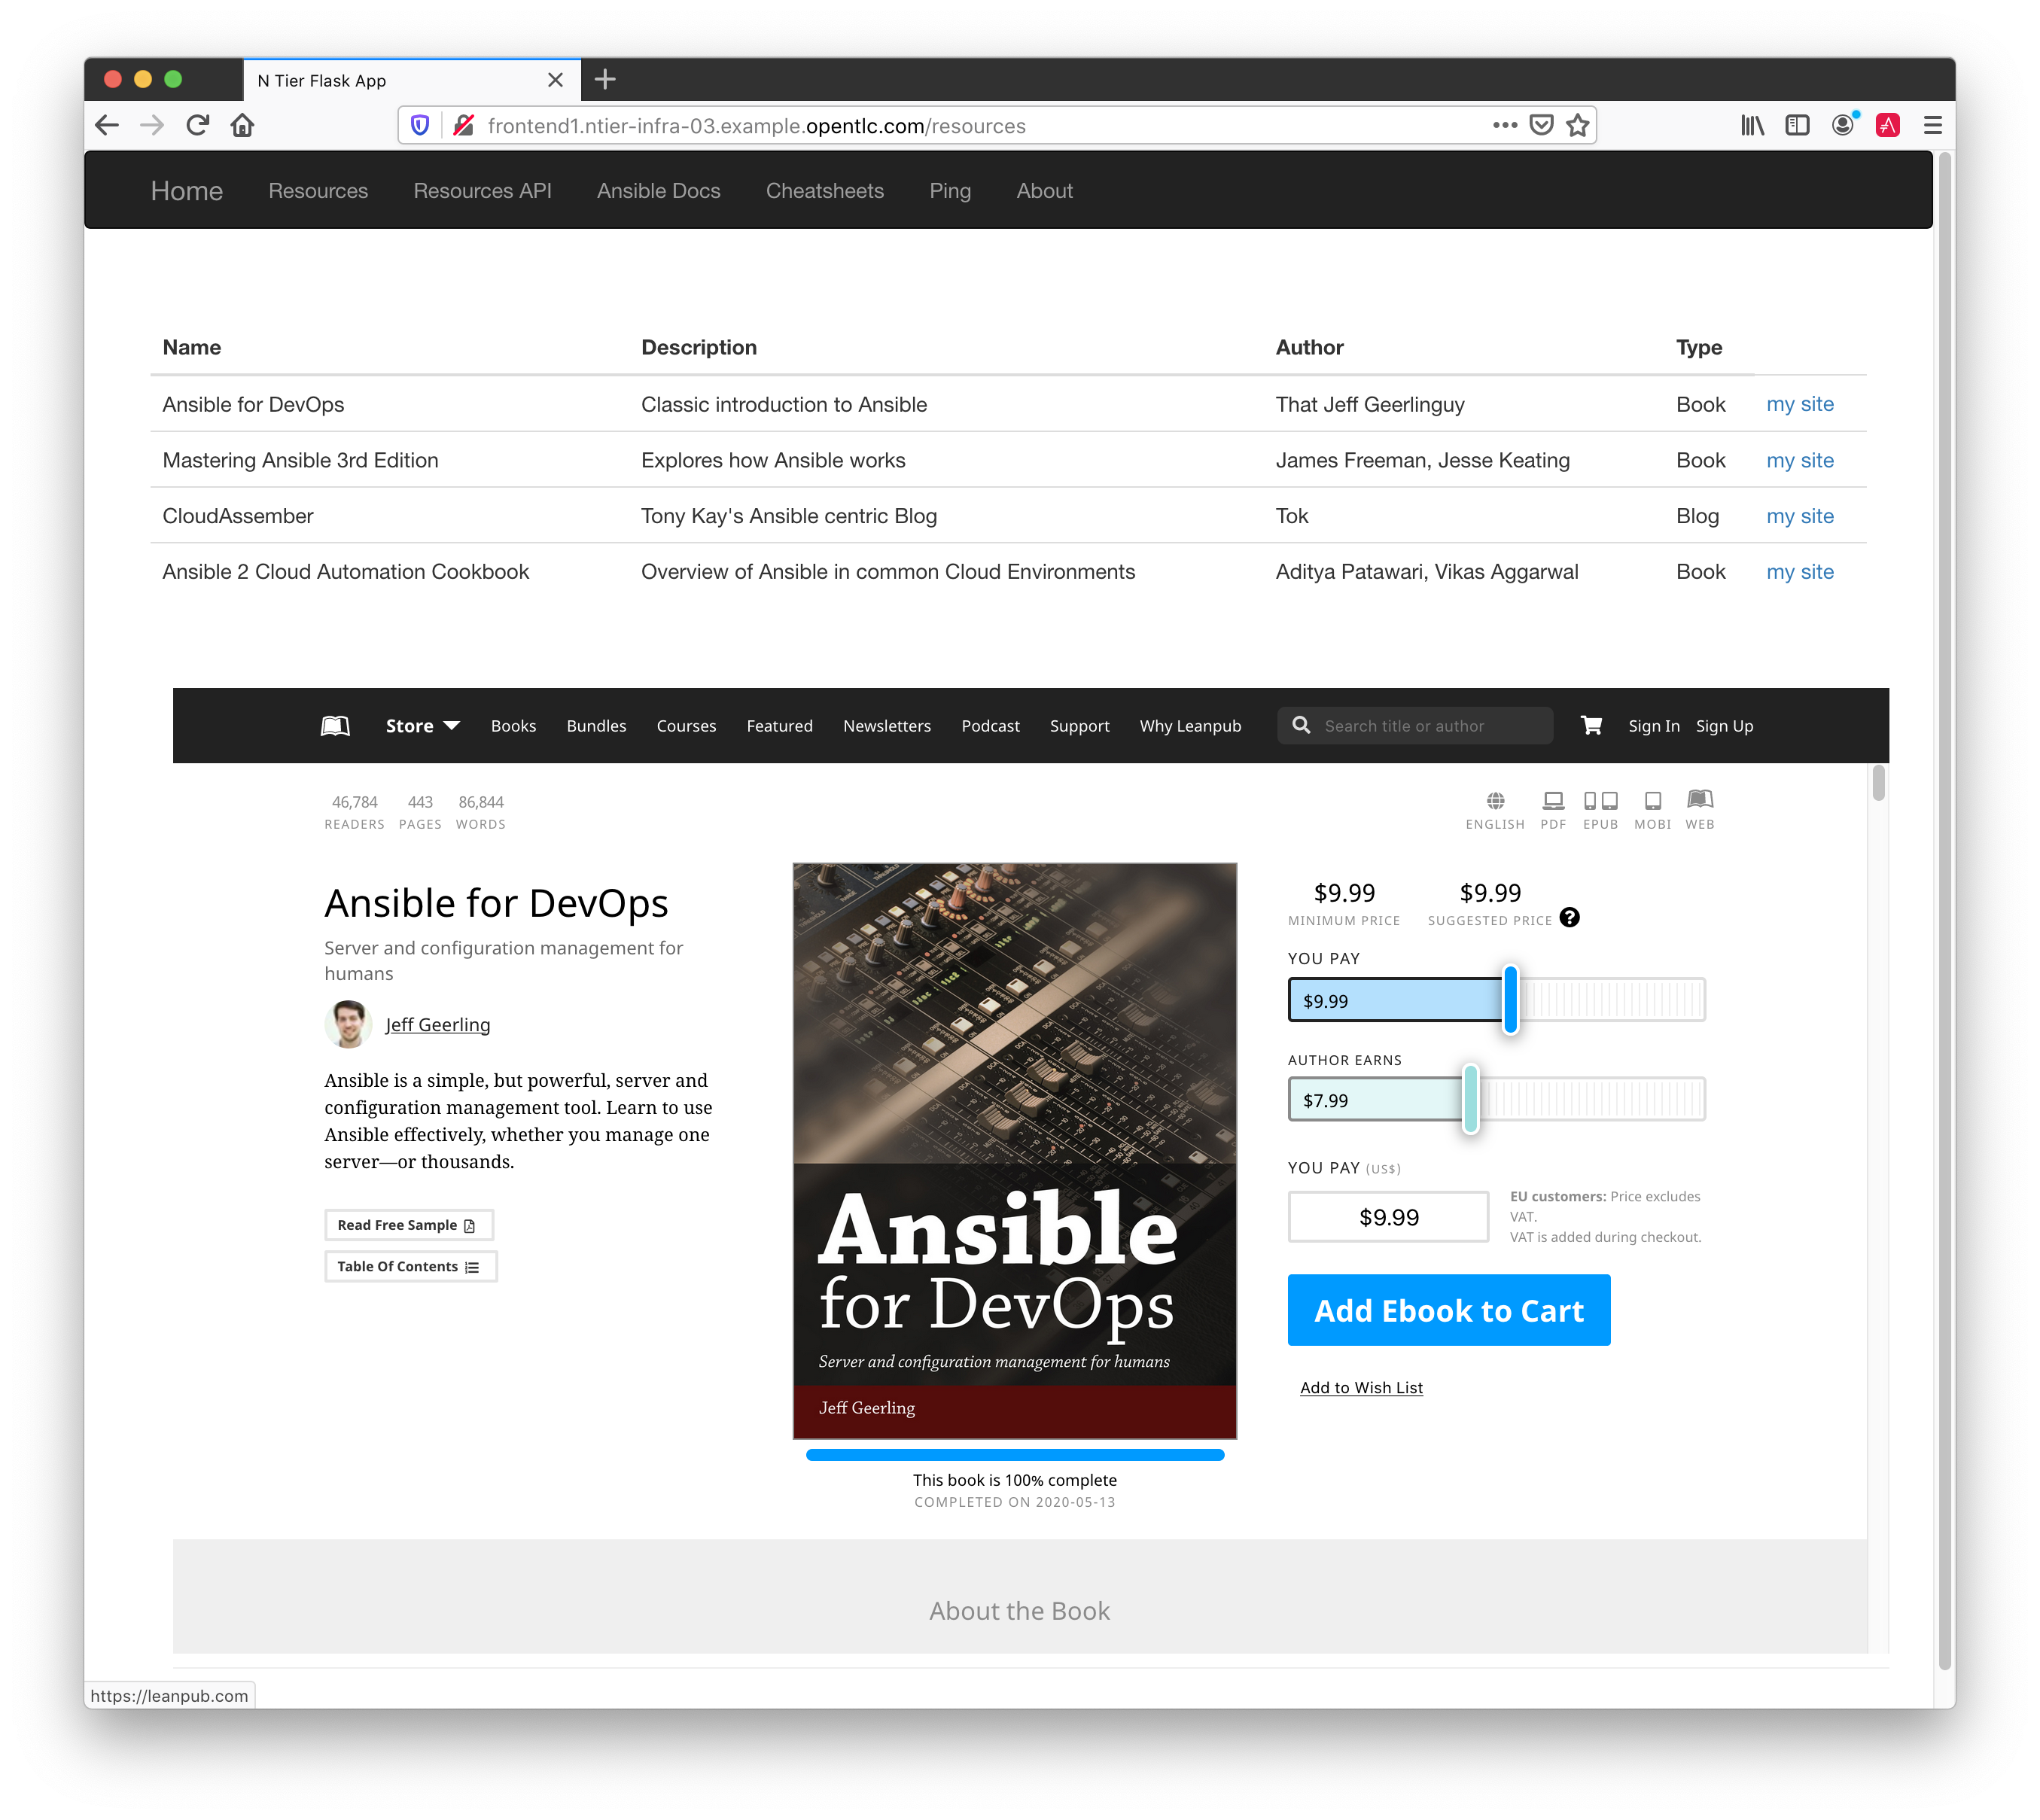
-
Test the
teardown.ymlplaybook and remove the application.Again it is worth watching the output closely and seeing if there are any expected, or unexpected, messages or changes. As before feel free to run it twice, note how the output changes as the idempotent teardown has nothing to do on the 2nd pass. In fact you should expect to see
changed=0in the output of the second pass for all hosts.
Next Steps
Now move onto Part 3 and make your first pass through at refactoring your deployer, main.yml.
Now your environment is fully configured and ready to run. Move onto Part 3: First Refator